Pine needle coiling is an ancient craft that combines artistry with functionality, using the natural beauty of pine needles to create stunning woven pieces. This traditional technique has been practiced by various cultures around the world, particularly among Indigenous peoples in North America. In this article, we will delve into what pine needle coiling is, how it works, its historical significance, and practical applications. We will also share expert insights, real-life examples, and tips for beginners interested in exploring this fascinating craft.
Understanding Pine Needle Coiling
Definition of Pine Needle Coiling
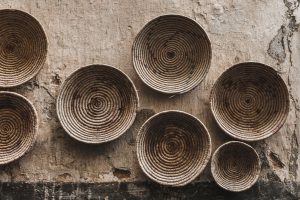
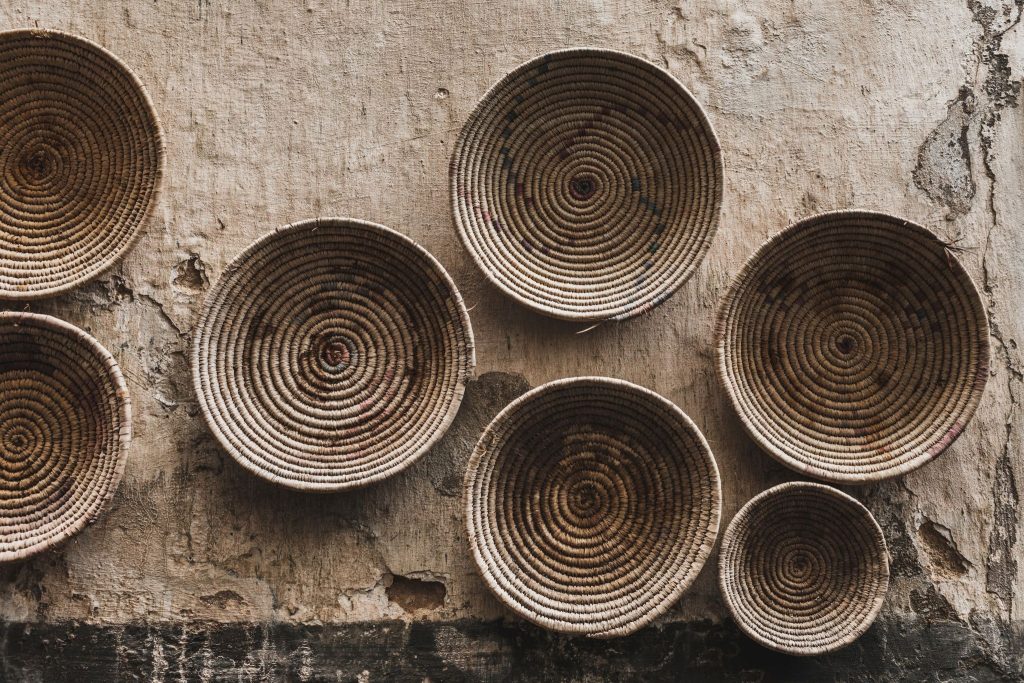
Pine needle coiling is a weaving technique that involves using long, flexible pine needles to create coiled baskets, mats, and other decorative items. This method typically employs a coiling process, where the needles are wound around a core material, such as thread, yarn, or even more pine needles. The coiling technique not only provides strength and structure to the finished piece but also allows for intricate designs and patterns.
Historical Context
The art of pine needle coiling has a rich history, dating back thousands of years. Indigenous peoples, particularly those in the southeastern United States, have used this technique for generations. The Cherokee and other tribes developed their unique styles, often incorporating natural dyes and intricate patterns that reflected their cultural heritage. The baskets created through pine needle coiling served practical purposes, such as carrying items or storing food, while also holding significant cultural and spiritual meaning.
The Process of Pine Needle Coiling
Materials Needed
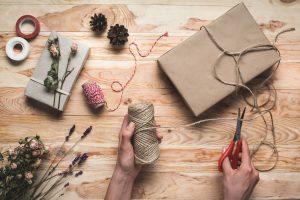
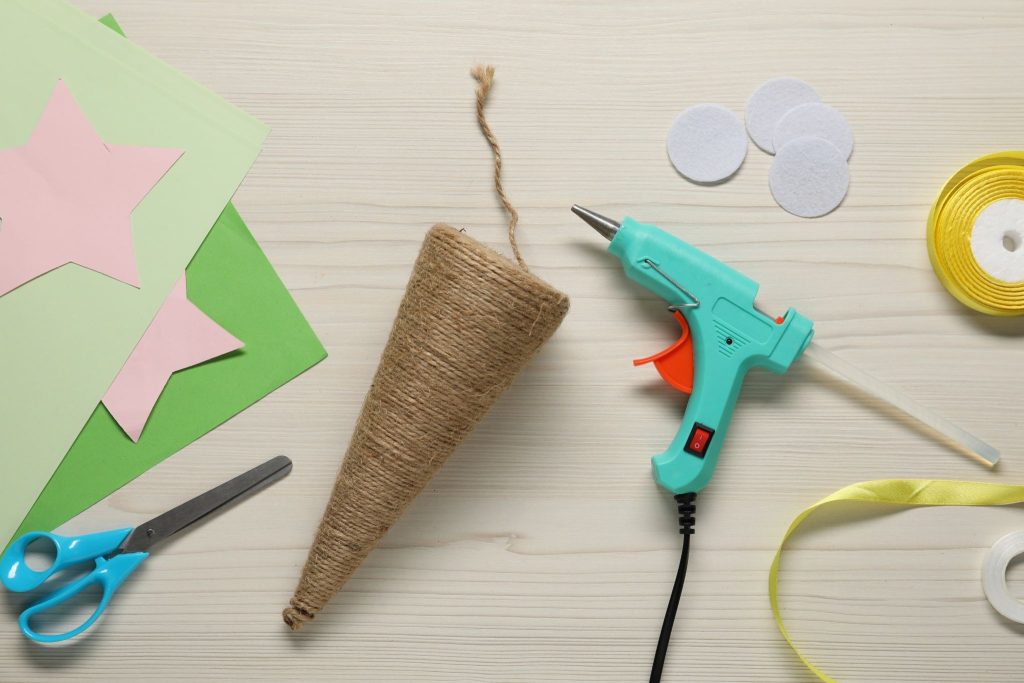
To embark on your pine needle coiling journey, you will need a few essential materials:
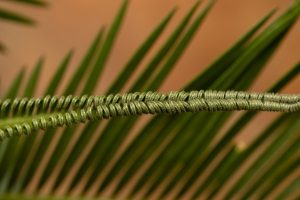
- Pine Needles: Freshly harvested needles from species such as longleaf, slash, or loblolly pine are ideal. Make sure to select needles that are flexible and not overly dry.
- Core Material: This can be thread, yarn, or even fabric strips. The core provides the structure for your coil.
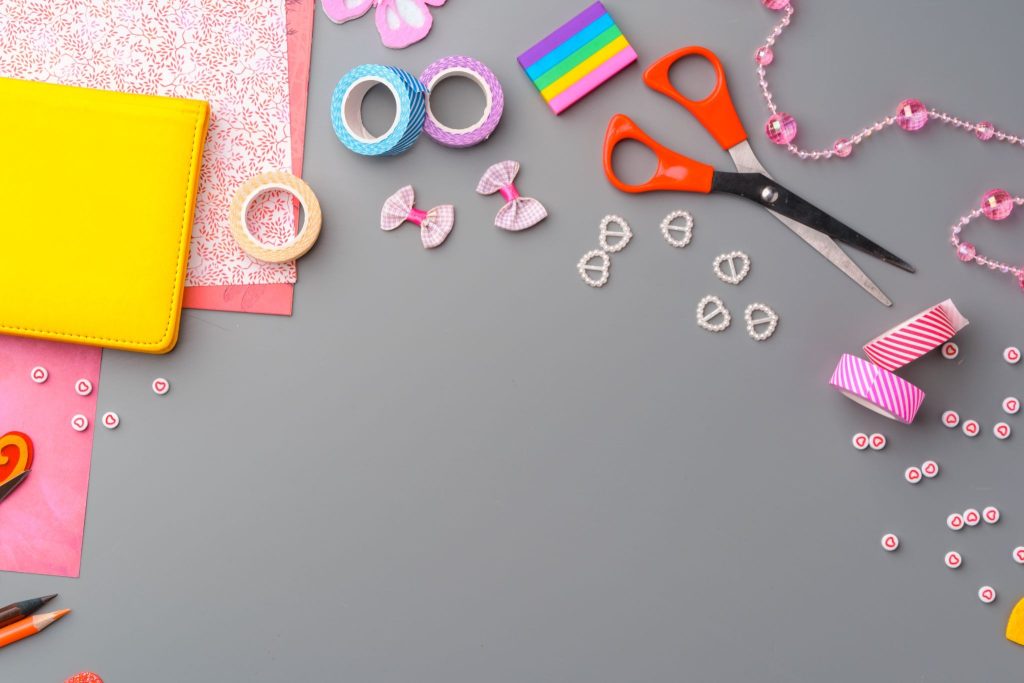
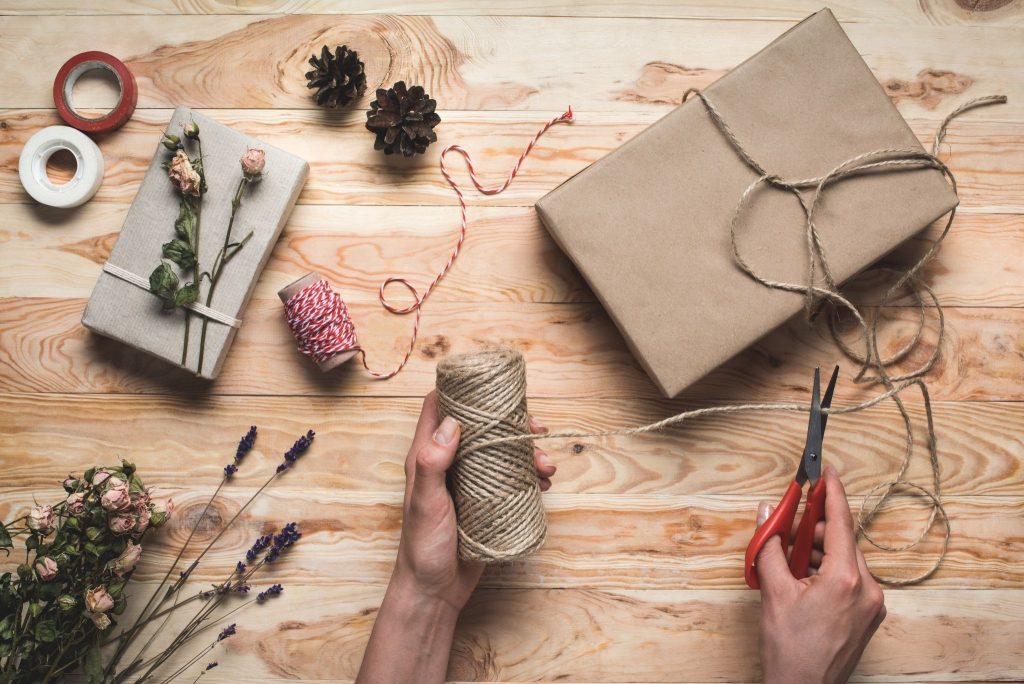
- Needles and Tools: A sewing needle or a tapestry needle is useful for threading the core material. Scissors are also essential for cutting your materials.
- Optional Dyes: If you want to add color to your project, natural dyes can be made from plants, fruits, or vegetables.
Step-by-Step Guide to Pine Needle Coiling
Step 1: Prepare the Pine Needles
Start by gathering your pine needles. It’s best to collect them from fresh, healthy trees to ensure flexibility. Rinse them in water to remove any dirt or debris, then soak them in warm water for about 30 minutes to make them more pliable. This step is crucial as it prevents the needles from breaking during the coiling process.
Step 2: Create the Core
Cut a length of your chosen core material. A good starting length is around 3-4 feet, but this can vary based on the size of your project. Fold the core in half to create a loop, which will serve as the starting point of your coil.
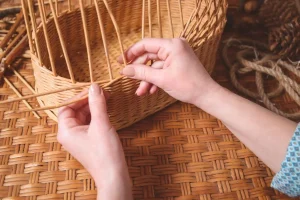
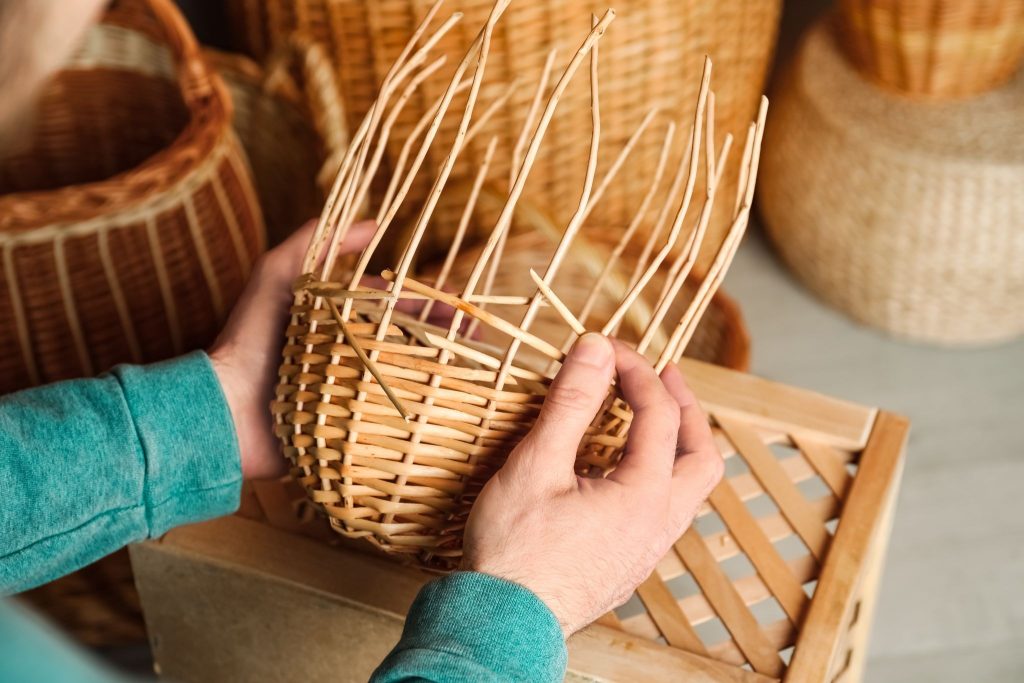
Step 3: Start Coiling
Take a handful of pine needles, aligning them with the core. Begin wrapping the needles around the core material, spiraling them tightly together. Use your sewing needle to secure the needles in place by stitching through the center of the coil. This stitching will hold your coil together as you work.
Step 4: Continue Adding Needles
As you work, continue to add more pine needles to the coil, ensuring they are evenly spaced and securely stitched. The beauty of pine needle coiling lies in its organic nature, so don’t worry about achieving perfect symmetry. Allow your creative instincts to guide you, and feel free to experiment with patterns and designs as you go.
Step 5: Finishing Touches
Once you reach the desired size for your project, secure the end of the coil with a few stitches. Trim any excess core material and pine needles, ensuring the edges are neat and tidy. If you used dyes, allow your piece to dry completely before displaying it.
Tips for Successful Pine Needle Coiling
To enhance your pine needle coiling experience, consider the following tips:
- Practice Patience: Coiling can be a time-consuming process, especially for beginners. Take your time and enjoy the journey.
- Experiment with Designs: Don’t be afraid to try different patterns and shapes. The beauty of pine needle coiling is its versatility.
- Join a Community: Engaging with fellow crafters can provide inspiration and support. Consider joining a local crafting group or online community focused on pine needle coiling.
The Cultural Significance of Pine Needle Coiling
Cultural Heritage
Pine needle coiling is more than just a crafting technique; it is deeply rooted in cultural traditions. For many Indigenous communities, the act of coiling pine needles is a way to preserve their heritage and pass down knowledge to future generations. Each piece created carries with it the stories, experiences, and teachings of those who came before.
Modern Applications
Today, pine needle coiling continues to thrive as both an art form and a practical craft. Many artisans create beautiful pieces for sale, showcasing the intricate designs and techniques that define this tradition. These handcrafted items are not only functional but also serve as conversation starters, connecting people to the rich history behind the craft.
Furthermore, as awareness of sustainability grows, more people are turning to natural materials like pine needles for their crafting projects. Pine needle coiling offers an eco-friendly alternative to mass-produced items, appealing to those who value sustainability and craftsmanship.
Real-Life Examples of Pine Needle Coiling
Artisans and Their Work
Many talented artisans have dedicated their lives to mastering the art of pine needle coiling. One such artisan is Linda O’Brien, a member of the Cherokee Nation, who has been weaving pine needles for over 30 years. Her work showcases the beauty of traditional designs while also incorporating contemporary elements. O’Brien emphasizes the importance of storytelling in her pieces, often using symbols that represent her heritage.
Another notable artisan is Dottie Dillard, a member of the Lumbee Tribe. Dillard creates stunning coiled baskets that reflect her cultural background and the natural environment around her. She often holds workshops to teach others about the craft, ensuring that the tradition continues to thrive.
Community Workshops
Community workshops focused on pine needle coiling are becoming increasingly popular. These events provide opportunities for individuals of all skill levels to learn from experienced artisans. Participants not only gain practical skills but also develop connections with others who share a passion for crafting.
For example, the Pine Needle Coiling Workshop held annually in North Carolina attracts participants from across the region. Attendees learn the basics of coiling while also exploring the cultural significance of the craft. The workshop fosters a sense of community and encourages participants to share their experiences and creativity.
Benefits of Pine Needle Coiling
Therapeutic Benefits
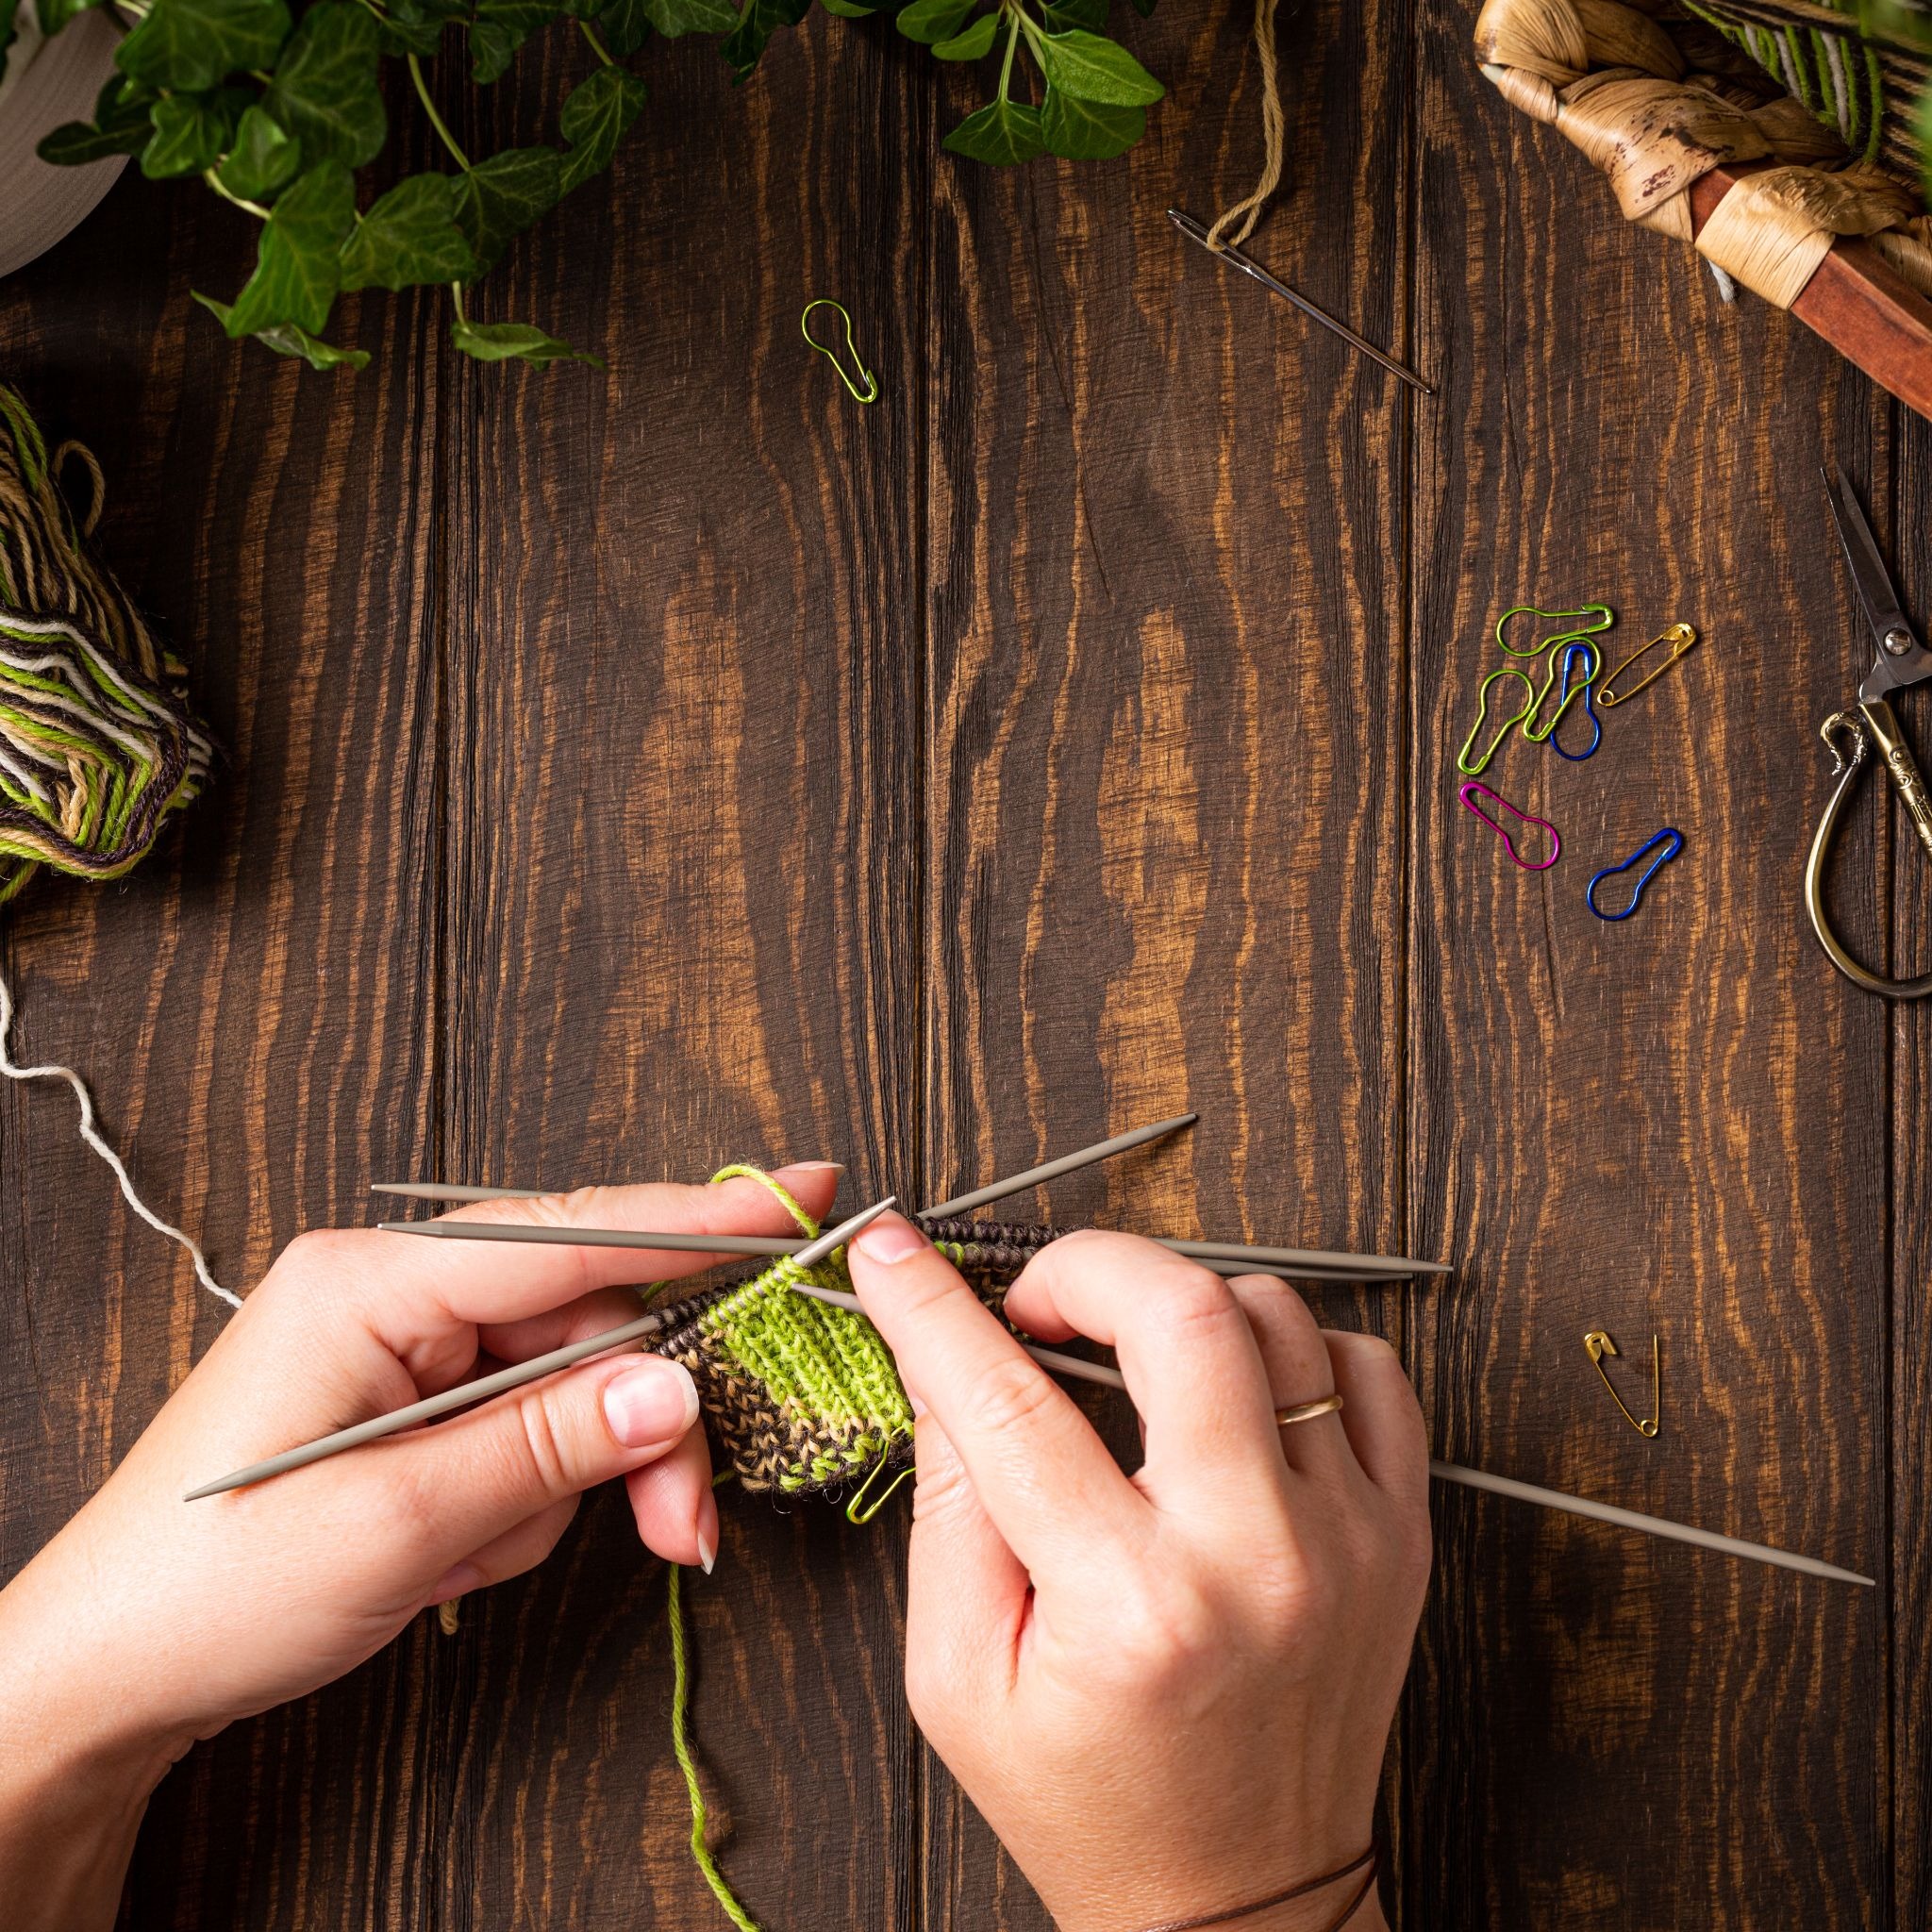
Engaging in crafts like pine needle coiling can have therapeutic benefits. The repetitive motions involved in coiling can promote relaxation and mindfulness, allowing individuals to enter a meditative state. Research published in the Journal of Positive Psychology indicates that engaging in creative activities can reduce stress and improve overall well-being.
Skill Development
Pine needle coiling also offers opportunities for skill development. As individuals practice this craft, they enhance their fine motor skills, hand-eye coordination, and creativity. These skills can be applied to other crafting techniques, further expanding one’s artistic repertoire.
Eco-Friendly Crafting
Using natural materials like pine needles makes for an eco-friendly crafting option. Pine needles are abundant and often considered a waste product in many regions. By repurposing them into beautiful crafts, individuals contribute to sustainability efforts while enjoying the creative process.
Getting Started with Pine Needle Coiling
Resources for Beginners
If you’re interested in exploring pine needle coiling, several resources can help you get started. Online tutorials, crafting blogs, and instructional videos provide valuable information on techniques, materials, and design ideas. Additionally, local craft stores may offer classes or workshops focused on pine needle coiling.
Recommended Tools and Materials
For beginners, it’s essential to invest in quality materials and tools. Look for fresh pine needles, sturdy core materials, and reliable needles. As you gain experience, you may want to experiment with different materials and techniques to refine your skills further.
Joining Crafting Communities
Consider joining online forums or social media groups dedicated to pine needle coiling. These communities provide support, inspiration, and a platform for sharing your work. Engaging with fellow crafters can enhance your learning experience and motivate you to continue exploring this beautiful art form.
Conclusion
Pine needle coiling is a captivating craft that weaves together artistry, culture, and sustainability. This ancient technique not only allows individuals to create stunning pieces but also connects them to a rich history of craftsmanship. Whether you’re a seasoned artisan or a curious beginner, exploring pine needle coiling can lead to a deeper appreciation for the natural world and the creativity it inspires.
As you embark on your pine needle coiling journey, remember to embrace the process, experiment with designs, and connect with others who share your passion. Happy crafting!