Pine needle coiling is a beautiful and traditional craft that has been utilized for generations, particularly by Indigenous peoples in North America. This technique involves weaving together pine needles to create stunning baskets, mats, and various decorative items. However, before you can start coiling, you need to gather and prepare the pine needles properly. In this article, we’ll explore the best practices for preparing pine needles, share tips from experienced crafters, and provide insights into the cultural significance of this craft.
Understanding Pine Needle Coiling
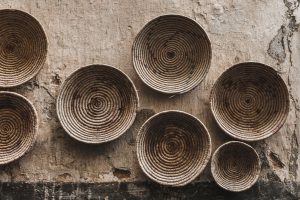
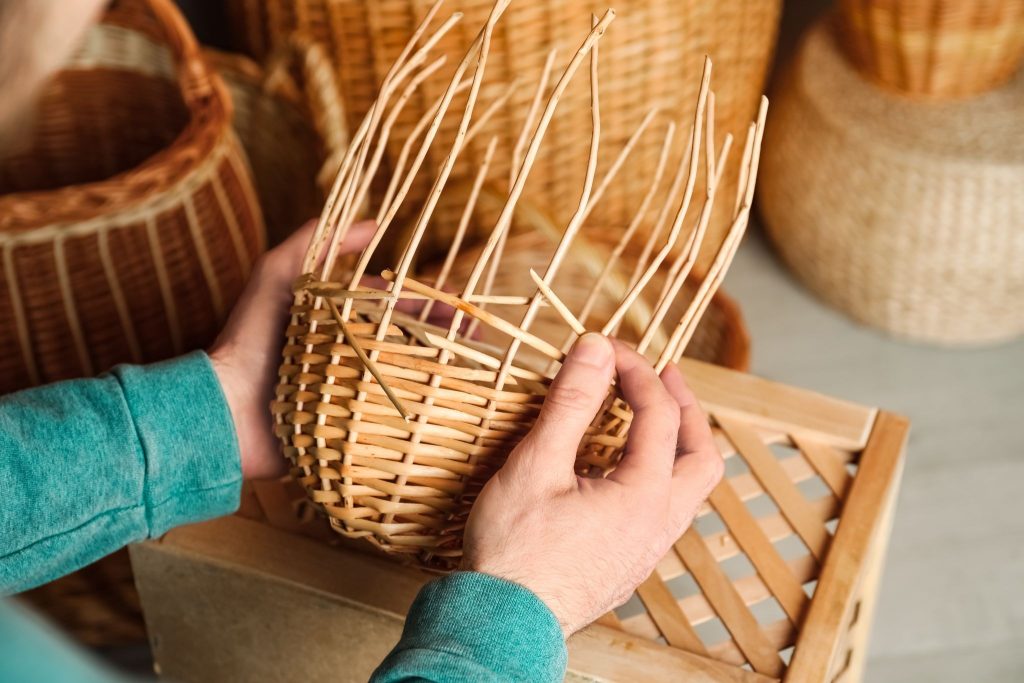
The Art of Pine Needle Coiling
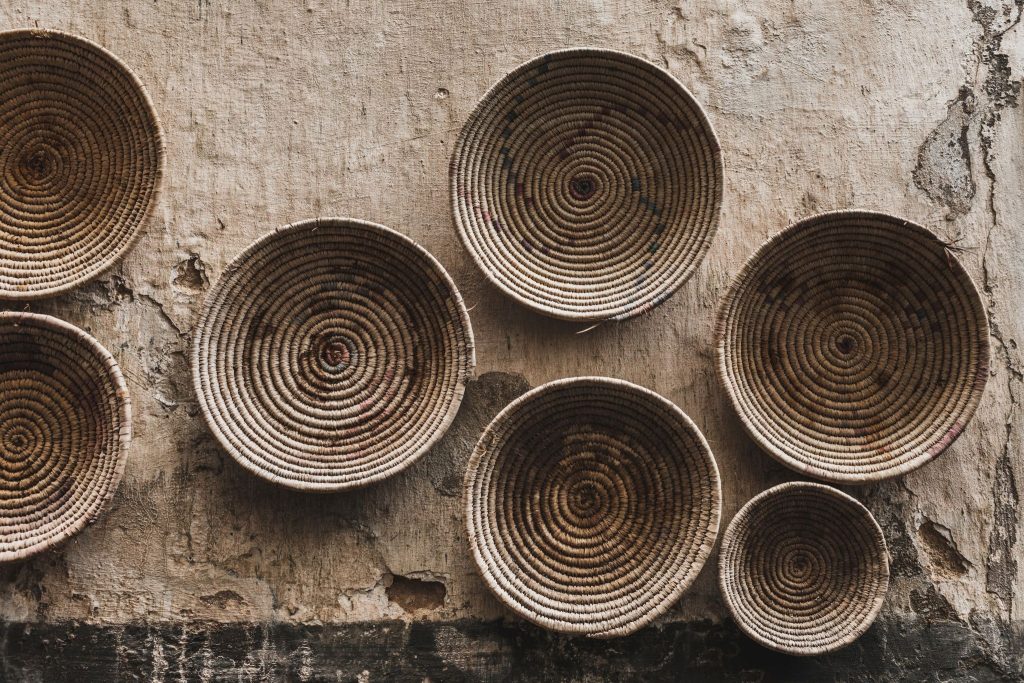
Pine needle coiling is a method of weaving that utilizes the long, flexible needles of pine trees. This craft not only showcases the natural beauty of pine needles but also allows artisans to express their creativity. The process typically involves wrapping the needles around a core material, such as thread or yarn, to form coiled structures.
Why Prepare Pine Needles?
Properly gathering and preparing pine needles is essential for successful coiling. Fresh, pliable needles are easier to work with and yield better results. When prepared correctly, the needles will maintain their flexibility, allowing for intricate designs and patterns in your finished piece.
Gathering Pine Needles
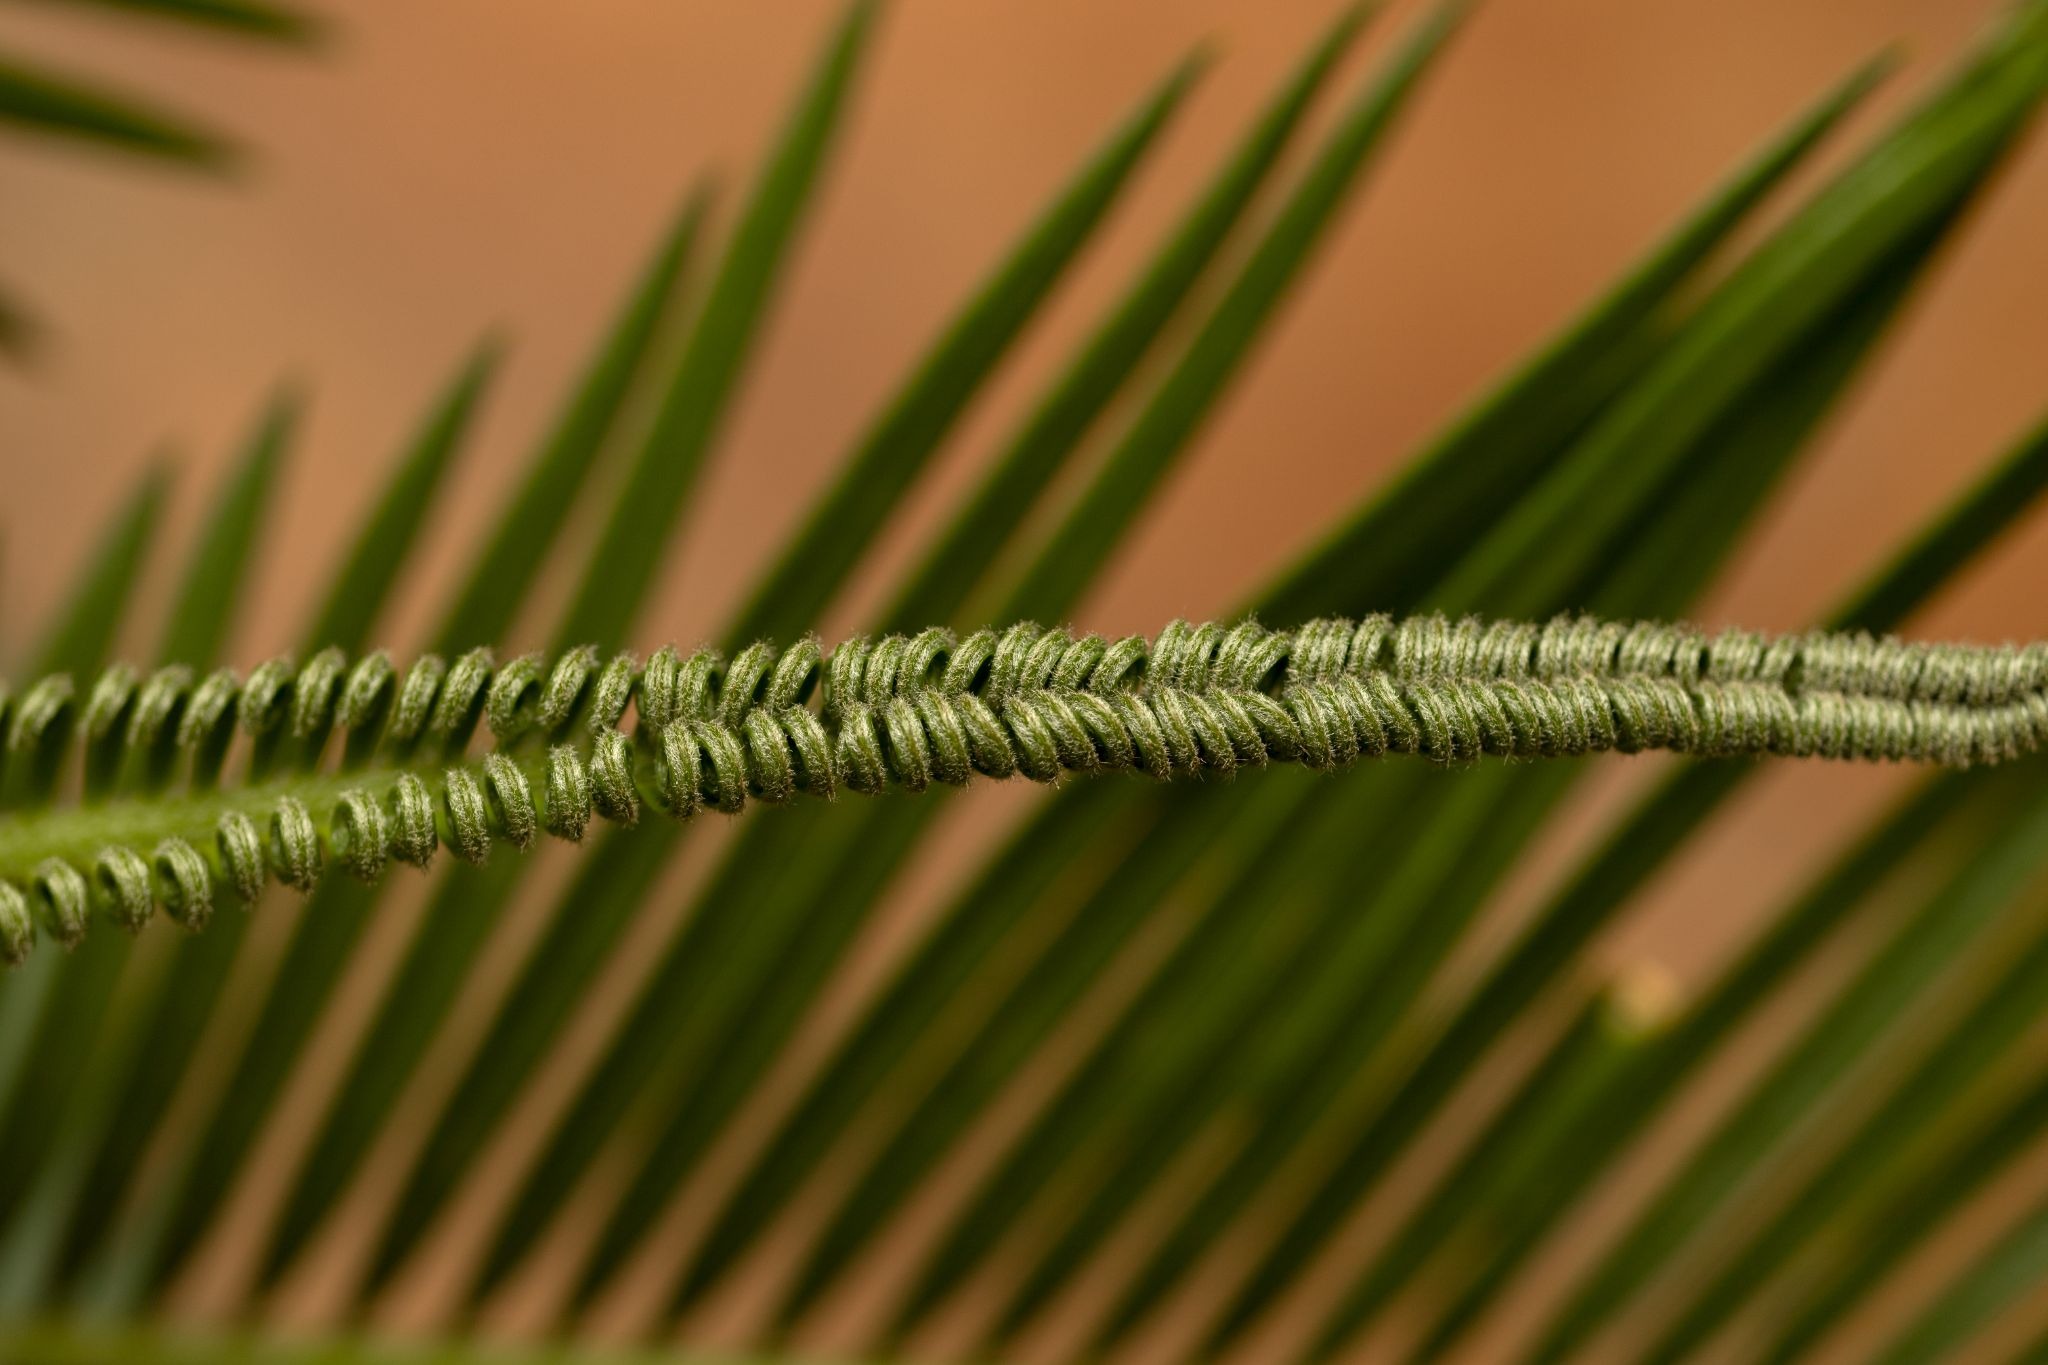
Choosing the Right Pine Needles
When gathering pine needles, it’s important to select the right type. Different species of pine produce needles of varying lengths and flexibility. Longleaf, loblolly, and slash pines are popular choices for coiling due to their long, thick needles. Typically, these needles are 5 to 10 inches long, making them ideal for weaving.
Expert Insight:
Craft expert and author, Emily Johnson, notes, “The choice of pine needles can significantly impact your project. Look for needles that are fresh, flexible, and free of damage. This ensures a quality finished product.”
Ideal Seasons for Gathering
The best time to gather pine needles is in the spring or early summer when they are fresh and green. This is when the needles are most pliable and easier to work with. Avoid gathering needles during the fall when they may have begun to dry out and become brittle.
Where to Find Pine Needles
Look for healthy pine trees in your local area or nearby forests. Ensure that you have permission to gather needles, especially if you’re on private property. National and state parks may have specific regulations regarding foraging, so always check before you begin.
Real-Life Example:
Sarah, an avid crafter from North Carolina, shares her experience: “I love visiting local parks during the spring to gather fresh pine needles. It’s a peaceful activity, and I enjoy being surrounded by nature while collecting my materials.”
Preparing Pine Needles
Cleaning Pine Needles
Once you’ve gathered your pine needles, it’s essential to clean them properly. Start by removing any dirt, debris, or insects that may be clinging to the needles. Rinse them in cool water and gently pat them dry with a clean cloth. This ensures that your needles are clean and ready for coiling.
Soaking Pine Needles
To further enhance the flexibility of the needles, soak them in warm water for about 30 minutes. This step is crucial, especially for needles that may be slightly dry. Soaking helps to rehydrate the needles, making them more pliable and easier to work with during the coiling process.
Trimming Pine Needles
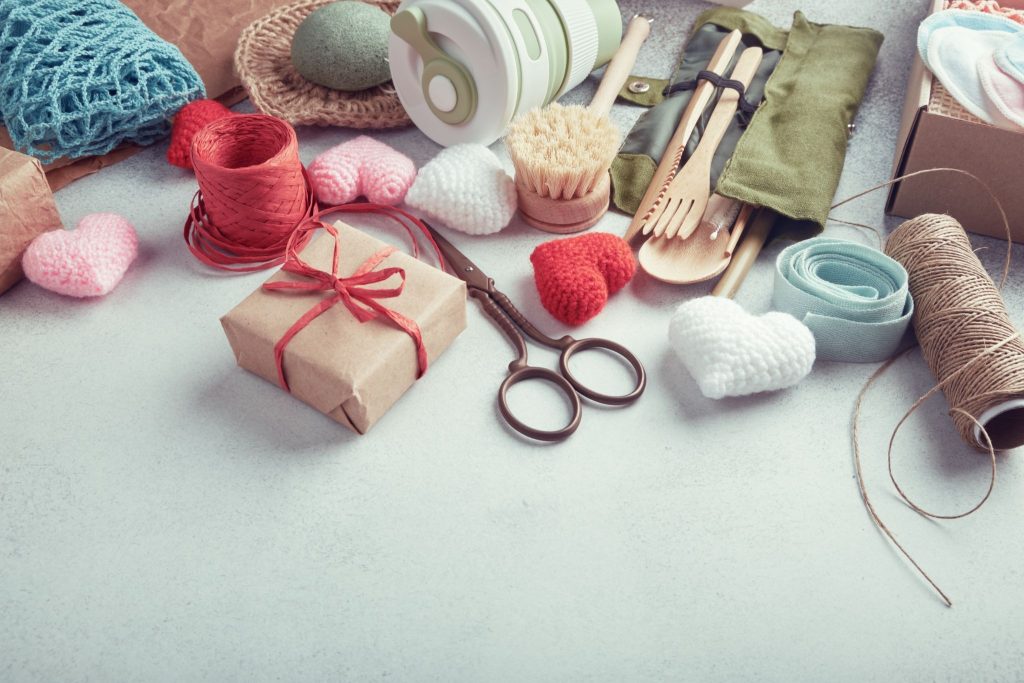
After soaking, trim the ends of the pine needles to ensure they are uniform in length. This step is particularly important for achieving a neat and polished look in your finished piece. Use sharp scissors to cut the needles, ensuring a clean edge.
Expert Insight:
Basket maker and educator, Michael Turner, advises, “Trimming the ends of your pine needles not only helps with aesthetics but also makes them easier to handle. You’ll find that uniform lengths create a smoother coiling process.”
Techniques for Coiling with Pine Needles
Basic Coiling Technique
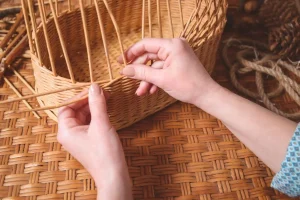
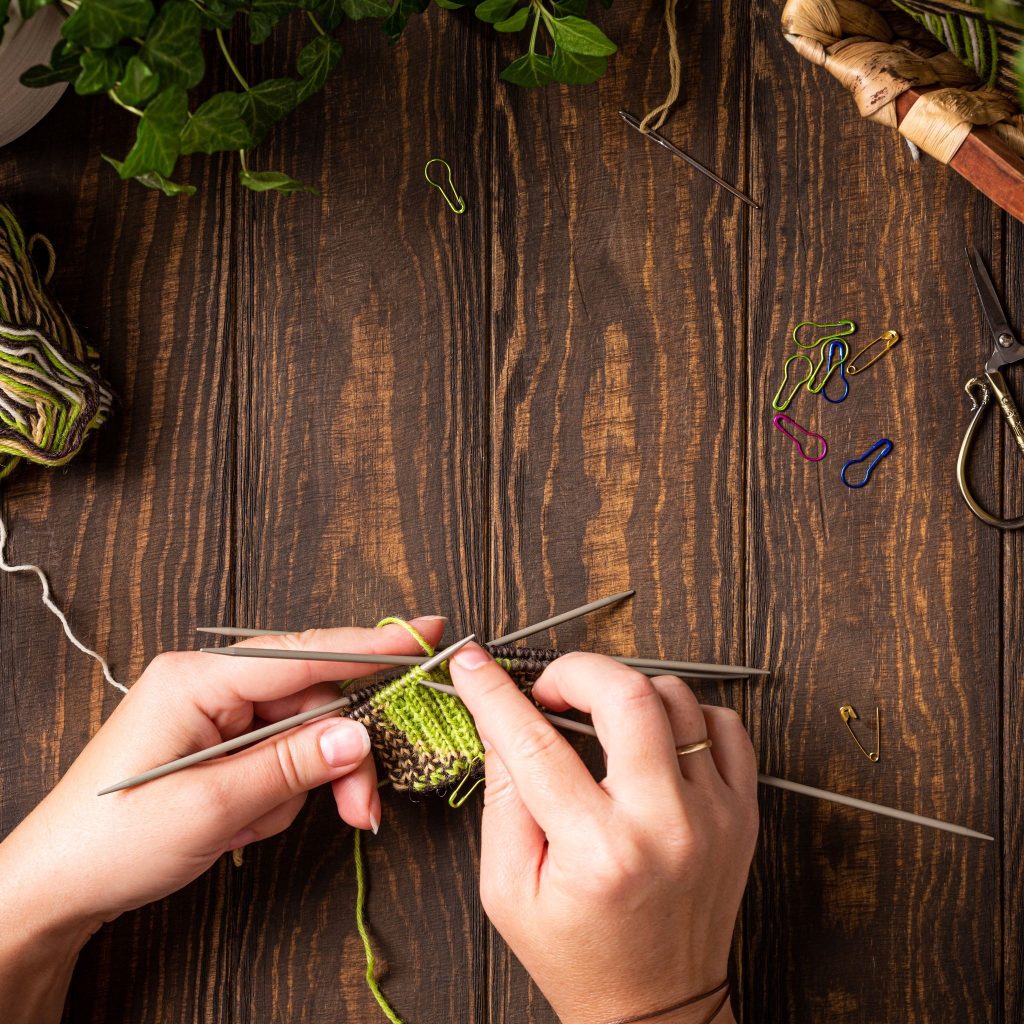
Once your pine needles are prepared, you can begin the coiling process. Start by selecting a core material, such as cotton thread or yarn. Fold the core in half to create a loop, which will serve as the starting point for your coil.
Wrapping the Needles
Take a handful of prepared pine needles and place them alongside the core material. Begin wrapping the needles around the core, spiraling them tightly together. Use a needle to stitch through the center of the coil, securing the needles in place.
Creating Patterns and Designs
As you gain confidence in your coiling technique, feel free to experiment with different patterns and designs. You can incorporate variations in color by using dyed pine needles or adding embellishments such as beads or fabric strips. The possibilities are endless, and your creativity is the only limit.
Real-Life Example:
Linda, a dedicated crafter, shares her journey: “When I first started coiling, I stuck to simple designs. But over time, I began incorporating colors and patterns, which added a unique touch to my pieces. It’s so rewarding to see how my skills have evolved.”
The Cultural Significance of Pine Needle Coiling
Historical Context
Pine needle coiling has deep roots in various cultures, particularly among Indigenous peoples in North America. For many tribes, this craft is not just a means of creating functional items; it is also a way to preserve cultural heritage and pass down traditions. Each piece created carries the stories, teachings, and experiences of those who came before.
Connecting with Nature
Gathering and preparing pine needles is also a way to connect with nature. The act of foraging and working with natural materials fosters a deeper appreciation for the environment. Many crafters find solace in the process, as it allows them to slow down and engage with the world around them.
Modern Applications
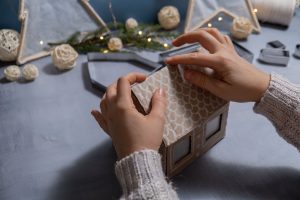
Today, pine needle coiling continues to thrive as both an art form and a practical craft. Artisans create beautiful pieces for sale, showcasing intricate designs that reflect their cultural heritage. These handcrafted items serve as conversation starters, connecting people to the rich history behind the craft.
Tips for Successful Pine Needle Coiling
Practice Patience
Coiling can be a time-consuming process, especially for beginners. It’s important to practice patience and enjoy the journey. Take your time, and don’t rush through the process. Crafting can be therapeutic, so allow yourself to savor each moment.
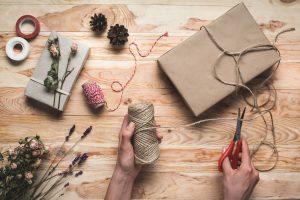
Experiment with Materials
As you gain experience, don’t hesitate to experiment with different materials. Try using various types of pine needles, core materials, and embellishments. This exploration can lead to new techniques and innovative designs that reflect your unique style.
Join a Crafting Community
Engaging with fellow crafters can provide inspiration and support. Consider joining a local crafting group or an online community focused on pine needle coiling. Sharing your experiences and learning from others can enhance your crafting journey.
Expert Insight:
Artisan and workshop facilitator, Jessica Miller, emphasizes the benefits of community: “Crafting is so much more enjoyable when you share it with others. You can learn new techniques, gain feedback, and foster friendships that will enrich your experience.”
Conclusion
Preparing pine needles for coiling crafts is a rewarding and fulfilling process that combines artistry with nature. By gathering and preparing the right needles, you set the stage for beautiful creations that reflect your creativity and personal style. As you embark on your pine needle coiling journey, remember to embrace the process, experiment with different techniques, and connect with the rich cultural heritage behind this ancient craft. Happy crafting!
FAQs
How do you gather pine needles for coiling crafts?
Gather pine needles in spring or early summer from healthy pine trees, ensuring they are fresh and flexible. Rinse and soak the needles to prepare them for coiling.
What types of pine needles are best for coiling?
Longleaf, loblolly, and slash pines are ideal due to their long, flexible needles. Choose fresh needles that are free of damage for the best results.
Why is it important to prepare pine needles before coiling?
Preparing pine needles ensures they are clean, flexible, and uniform in length, making them easier to work with and improving the overall quality of your finished piece.