 "
First I repaired the bottom. It was in pretty good shape except the last row, which was missing parts of the fern stitch. I restitched the last row, tightened up the bottom a bit by weaving the tails of my threads through some coils and then removed the raffia that was wound around the coils to hold the bottom and sides together. The needles were brittle and I lost 2 side rows to breakage when I removed the raffia. The photo shows those that remain.
"
First I repaired the bottom. It was in pretty good shape except the last row, which was missing parts of the fern stitch. I restitched the last row, tightened up the bottom a bit by weaving the tails of my threads through some coils and then removed the raffia that was wound around the coils to hold the bottom and sides together. The needles were brittle and I lost 2 side rows to breakage when I removed the raffia. The photo shows those that remain.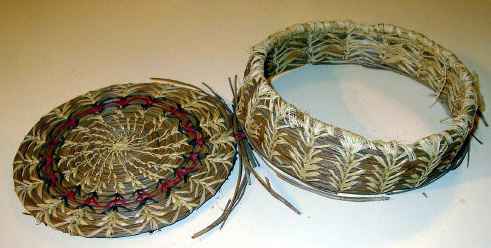
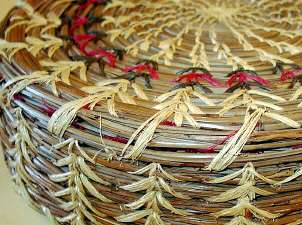
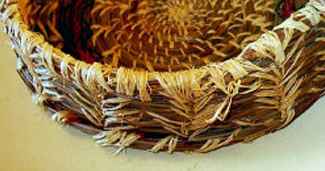 "The coils near the top of the basket consisted of reed and raffia on the inside, with a layer of pine needles facing the outside. I left the reed alone, but removed the raffia. The needles were in better shape here, so I just added more to thicken them up when reweaving the final coils. I left the tails of my raffia long and wove down through the original fern stitch to strengthen the sides.
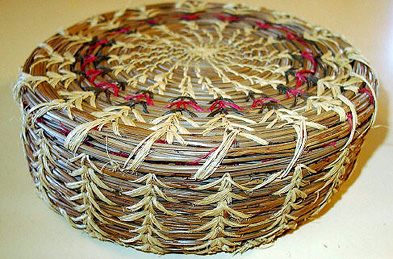
"The original red & black raffia on the lid was faded, so I replaced that to match the rest of the basket and used the same procedures: removing, replacing, and tightening."
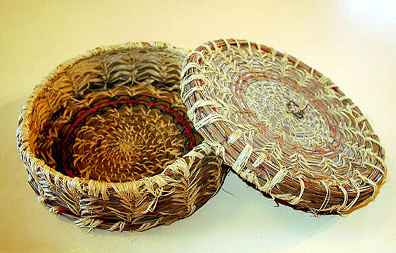
See the repaired basket
![]()